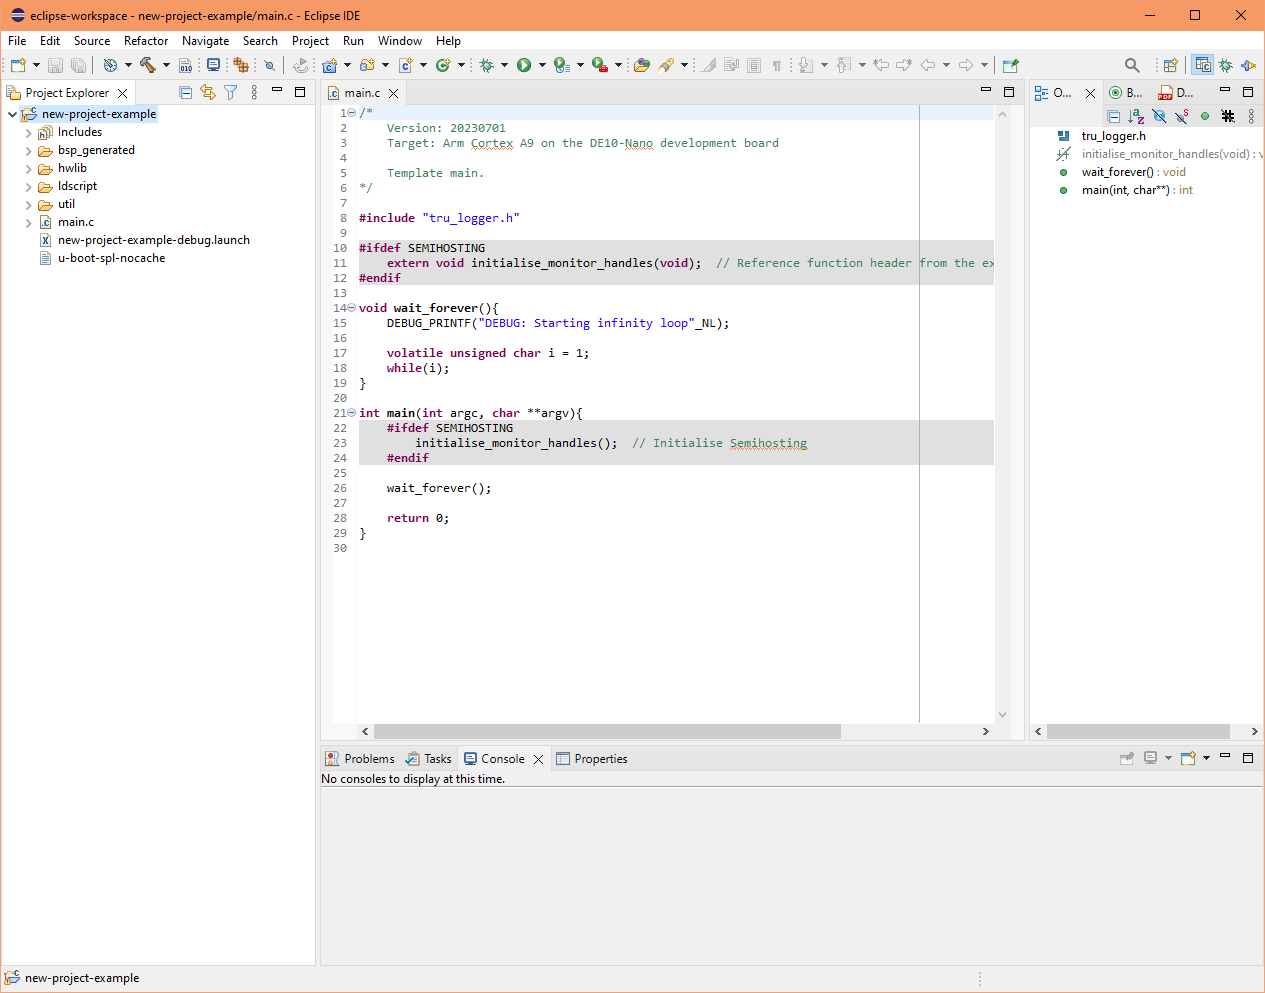
New Project Templates for DE10-Nano and Eclipse IDE for Embedded C/C++ Developers


Introduction


If you have followed my tutorial, you'll find that setting up new Eclipse IDE project for the DE10-Nano is quite a long process. The main problem is that there is no new project template for the "Intel Cyclone V SoC FPGA" out of the box. At one time, I made copies of Eclipse projects to use as new ones - but this method comes with it's own problems - the .cproject file contains unique id values in it and this causes conflicts (warning messages) when working with multiple projects at the same time.

Fortunately, the Eclipse IDE plugin development provides the facility for developers to reuse (extend) existing code to create new plugins. Since we only want to create some "New Project Wizards", we are able to extend the CDT & embedded CDT plugins without needing to type a single line of Java code. The plugin facility enables one to extend some of its model system simply through xml template files. I have created a plugin with two "New Project Wizards" for the "Intel Cyclone V SoC FPGA".

If you wish to build the plugin yourself, first install the plugin "Eclipse Plug-in Development Environment" from Eclipse, then download and open my two "Plugin" and "Feature" Eclipse projects from my github, otherwise just follow the instructions from step 2 to the install the plugin.

Note, there seems to be a bug in the CDT template extension point "org.eclipse.cdt.managedbuilder.core.buildDefinitions" and "parent" attribute of "configuration" tag. The bug causes the "parent" attribute to be regenerated from the value of the "id" attribute. This prevents new plugins (via CDT xml templates) creating valid new custom build configurations, e.g. DebugBySemihosting and DebugByUART. For now, the plugin works around this by providing a selection drop down, enabling you to choose a single debug output option.

1. The plugin files


Files

2. Installing the plugin


There are several ways to install Eclipse IDE plugins. I will describe three methods.

2.1. Install from a URL (method 1)
  • Run Eclipse IDE for Embedded C/C++ Developers
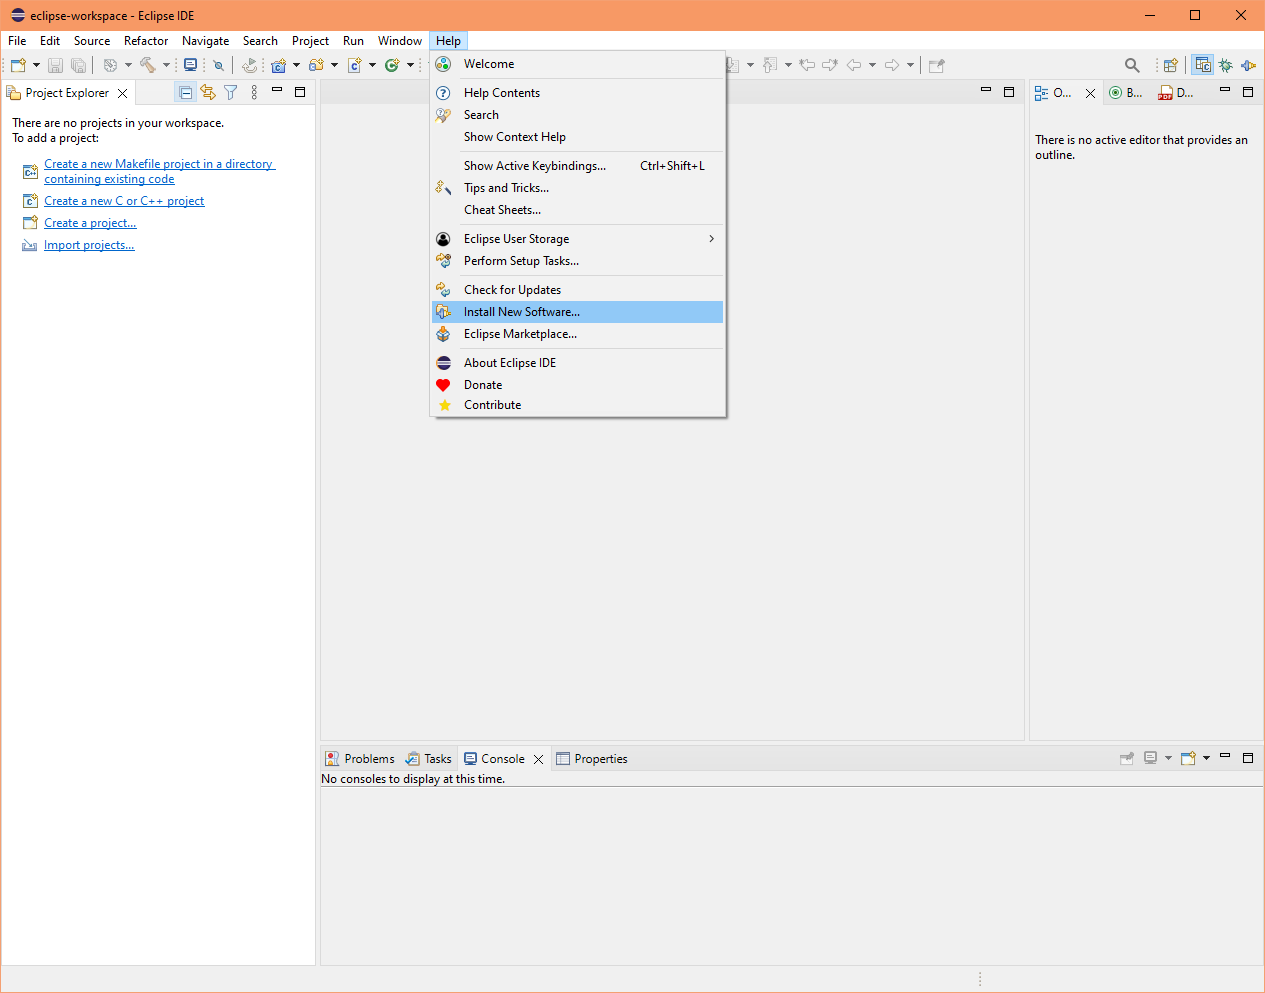
  • From menu, select "Help/Install New Software..."
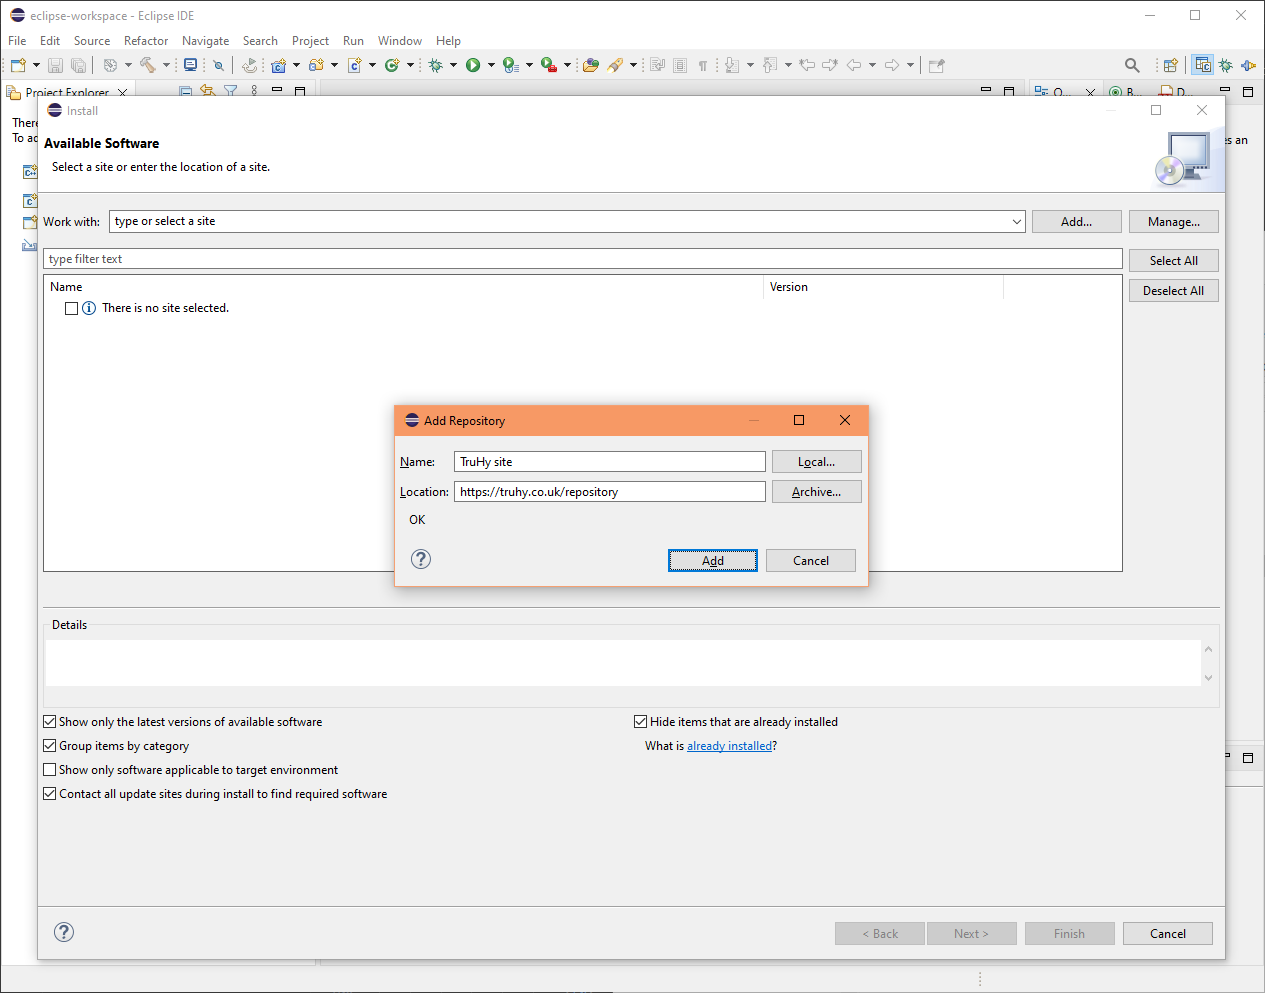
  • Click the "Add..." button
  • Optional: For the "Name" input box, type in "TruHy site"
  • For the "Location" input box, type in "https://www.truhy.co.uk/repository"
  • Click the "Add" button
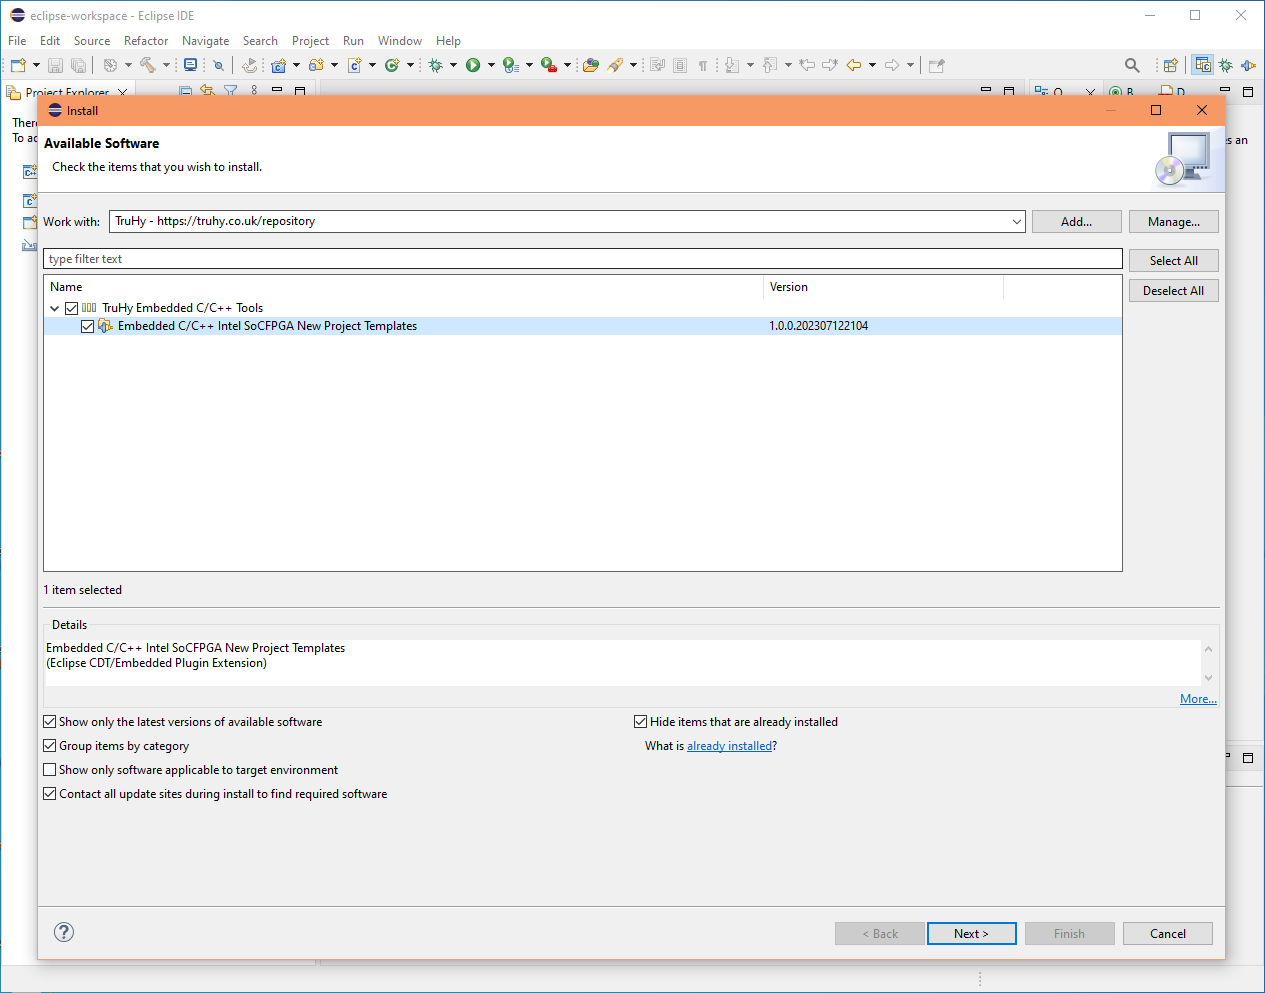
  • If successful, you will see the category "TruHy Embedded C/C++ Tools". You may click on the greater than button ">" to open up the category tree
  • Check the box to select the category, and click the "Next" button
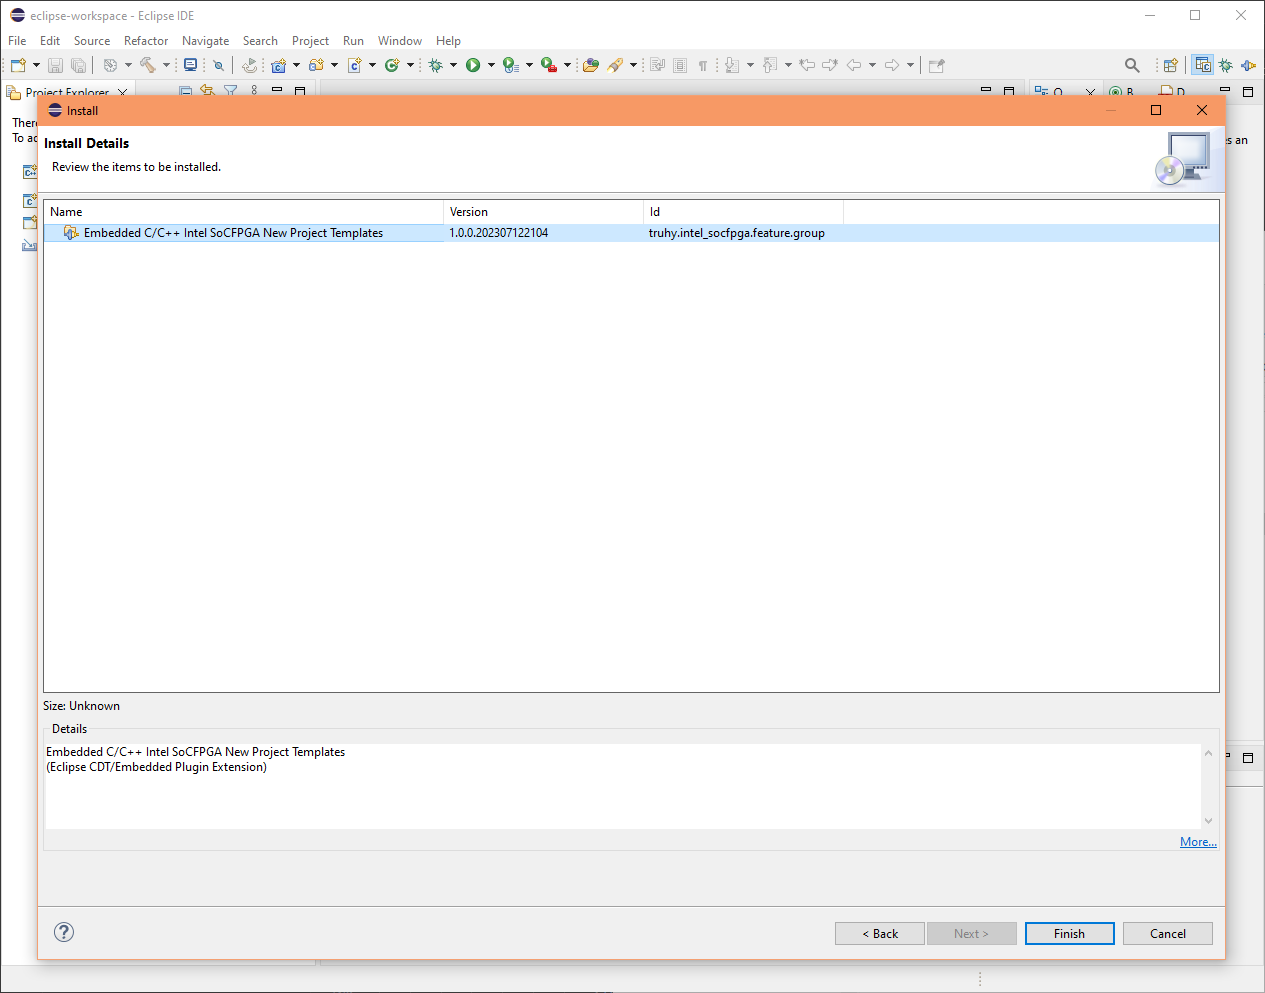
  • Click "Finish"
  • A dialog may popup about trusting the link. It's upto you, if you trust my built files then select trust, otherwise download the source projects and build it yourself. Then install from your archive (.zip) or local (folder) repository
Install new software menu URL install plugin site URL install plugin site URL install plugin site
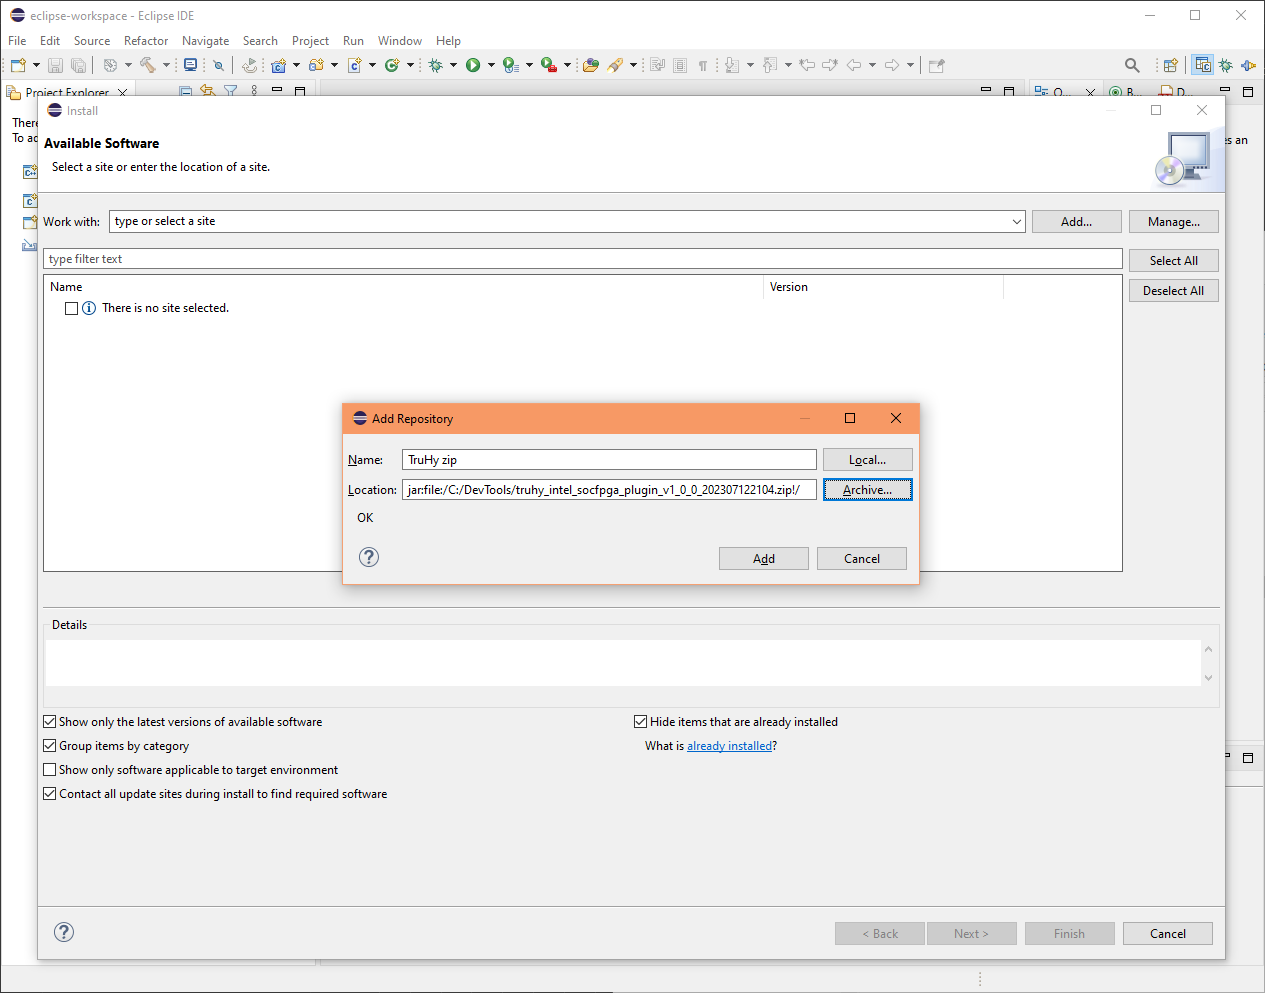
2.2. Install from a .zip file (method 2)
  • Download the plugin from my github: plugin zip
  • Run Eclipse IDE for Embedded C/C++ Developers
  • From menu, select "Help/Install New Software..."
  • Click the "Add..." button
  • Optional: For the "Name" input box, type in "TruHy zip"
  • Click the "Archive..." button
  • Browse and select the .zip file
  • Click the "Add" button
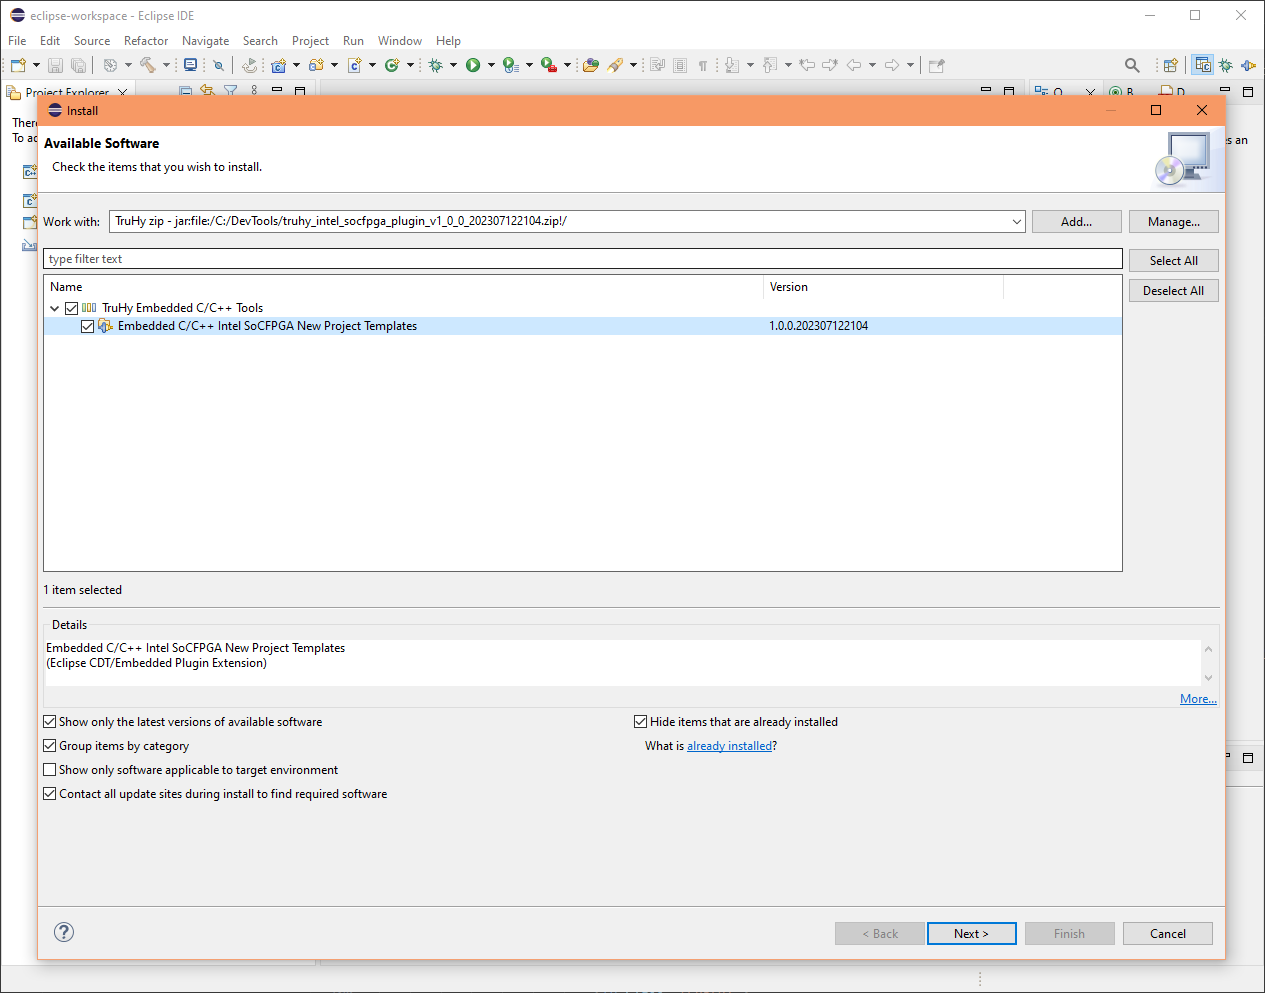
  • If successful, you will see the category "TruHy Embedded C/C++ Tools". You may click on the greater than button ">" to open up the tree
  • Check the box to select the category, and click the "Next" button
  • Click "Finish"
Install new software menu Install new software menu URL install plugin site URL install plugin site
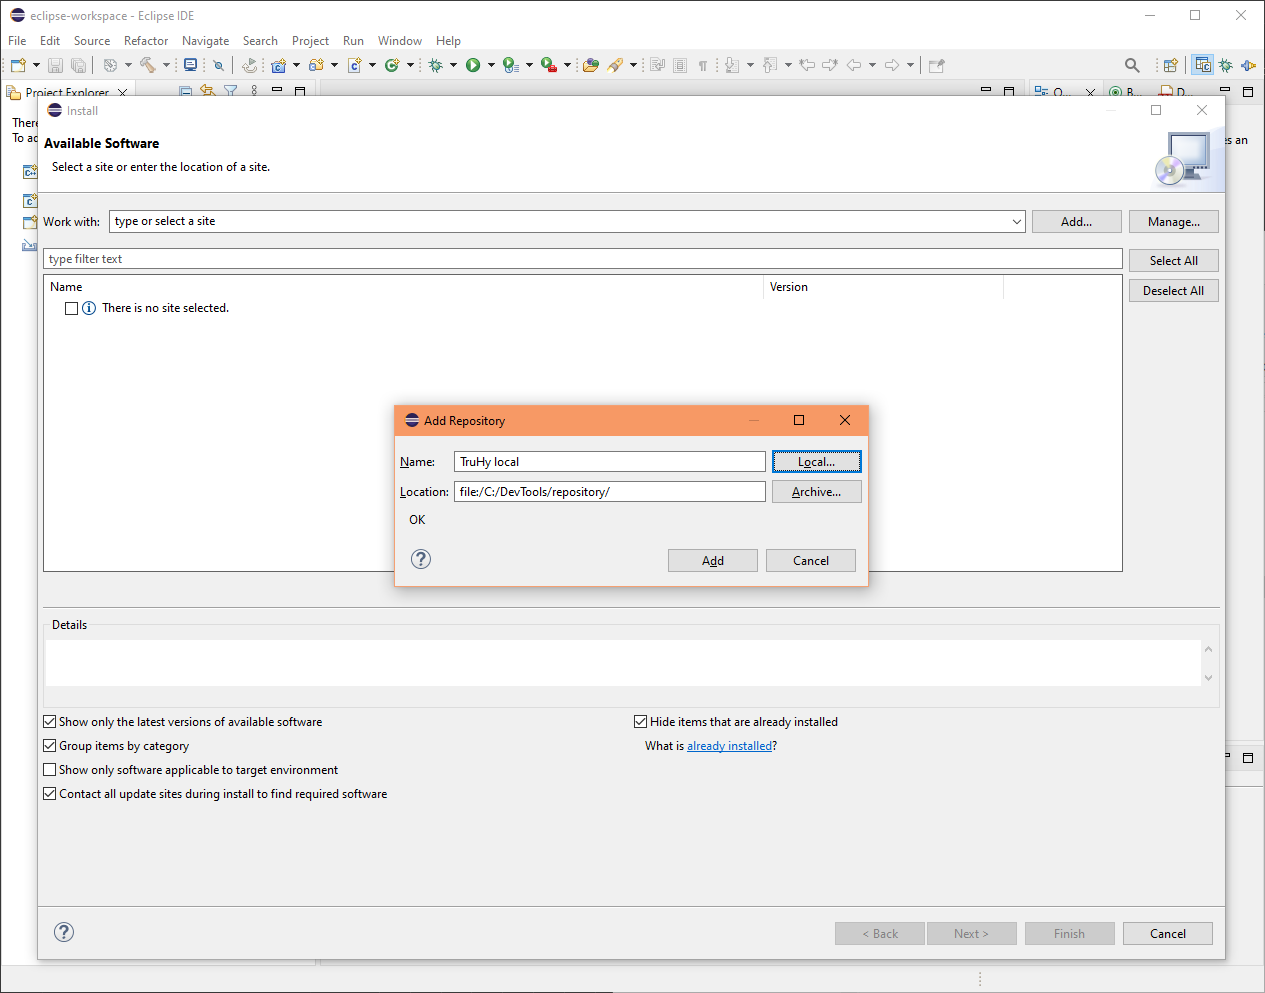
2.3. Install from a local folder (method 3)
  • Download the plugin from my github: plugin zip
  • Extract the .zip file to a folder of your choice, e.g. C:\DevTools\repository
  • Run Eclipse IDE for Embedded C/C++ Developers
  • From menu, select "Help/Install New Software..."
  • Click the "Add..." button
  • Optional: For the "Name" input box, type in "TruHy local"
  • Click the "Local..." button
  • Click the "Browse to your local repository folder, e.g. C:\DevTools\repository" button
  • Click the "Add" button
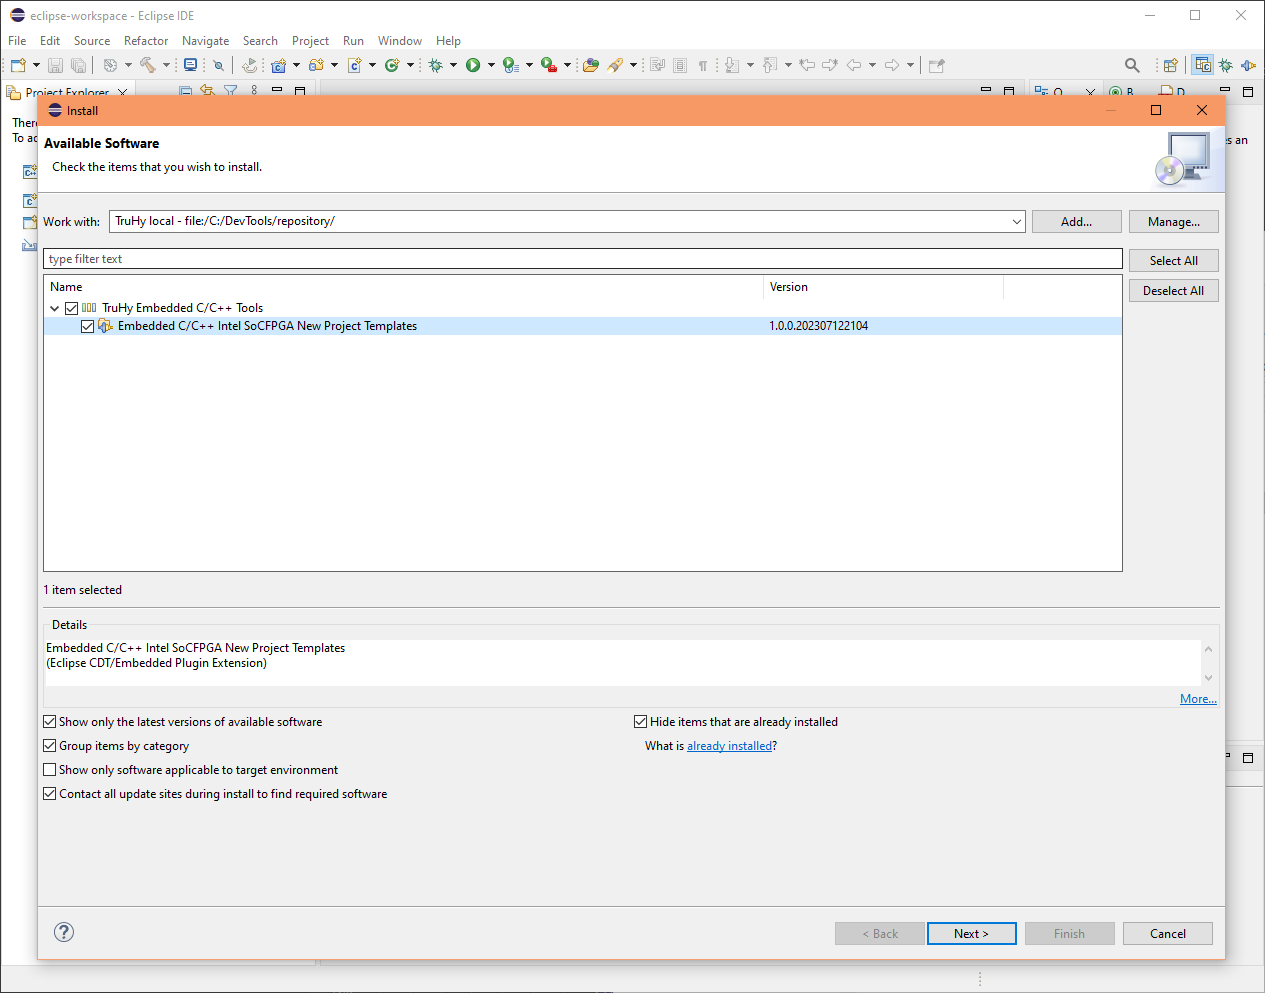
  • If successful, you will see the category "TruHy Embedded C/C++ Tools". You may click on the greater than button ">" to open up the tree
  • Check the box to select the category, and click the "Next" button
  • Click "Finish"
Install new software menu Install new software menu URL install plugin site URL install plugin site

3. Creating a new C project for DE10-Nano


After installing the plugin it should be available when you create a new C Managed Build project. Note, it is also visible in new C++ Managed Build project, but I havn't made a suitable linker file for that so is only there for the future.

3.1. Create new C Managed Build
  • Start Eclipse IDE
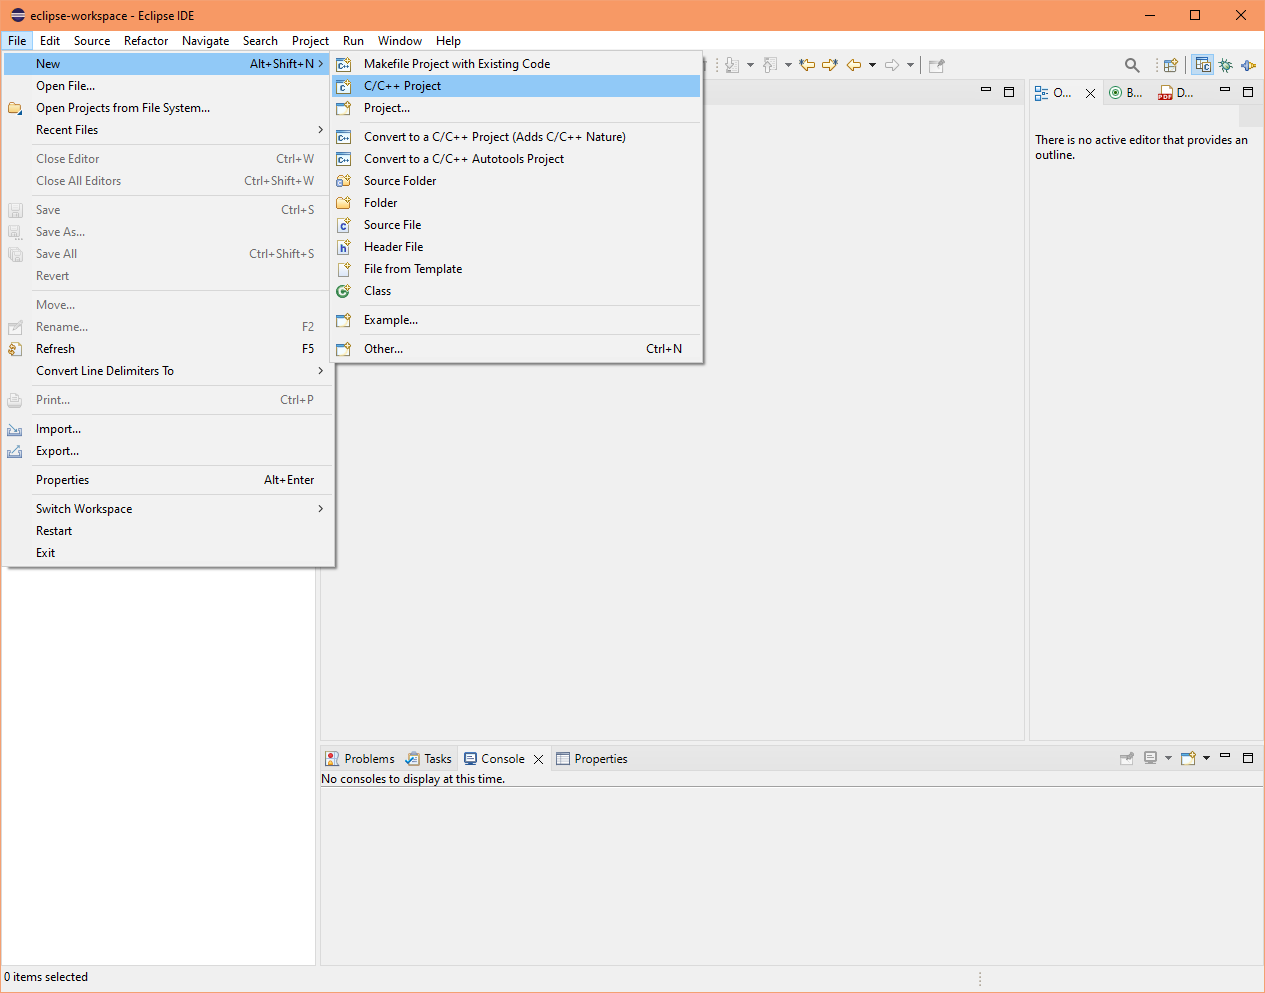
  • From the menu select "File/New/C/C++ Project"
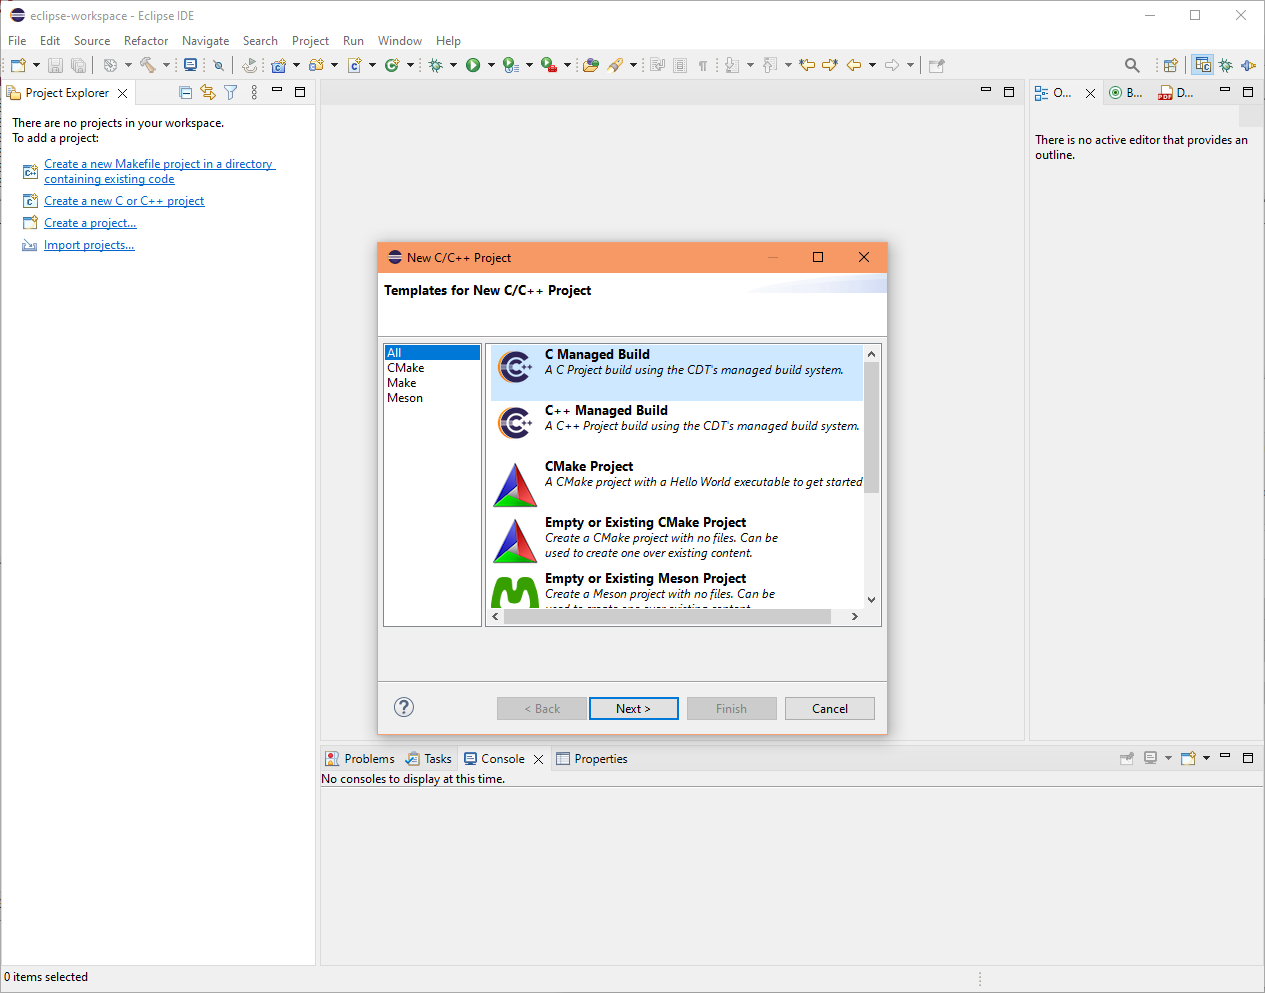
  • Select "C Managed Build" and click "Next" button
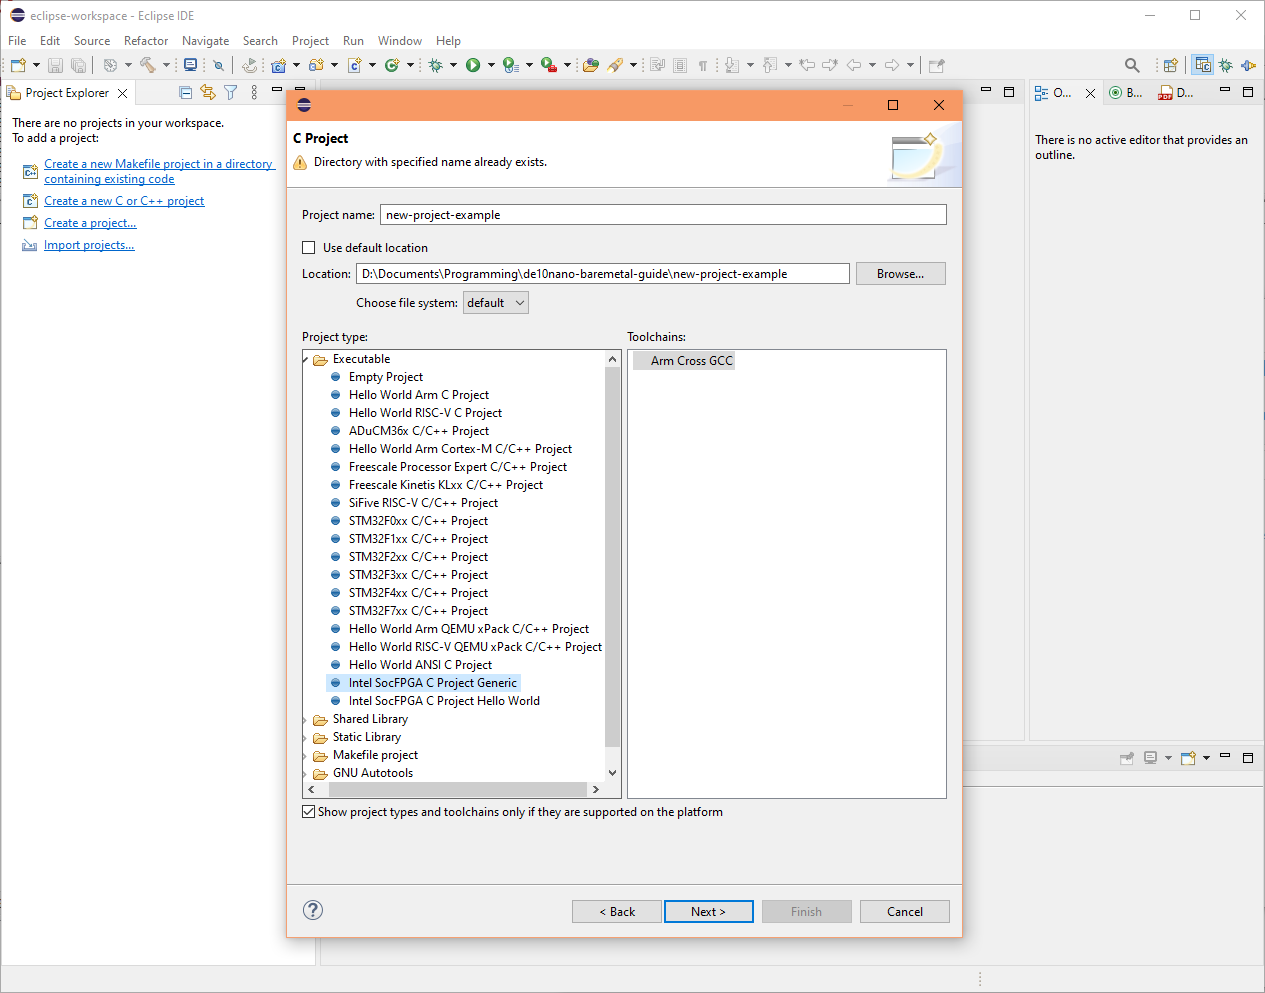
  • Type in a name for your new c project
  • I normally prefer to create the new project outside of the workspace and within it's own project folder, so I would untick "Use default location"
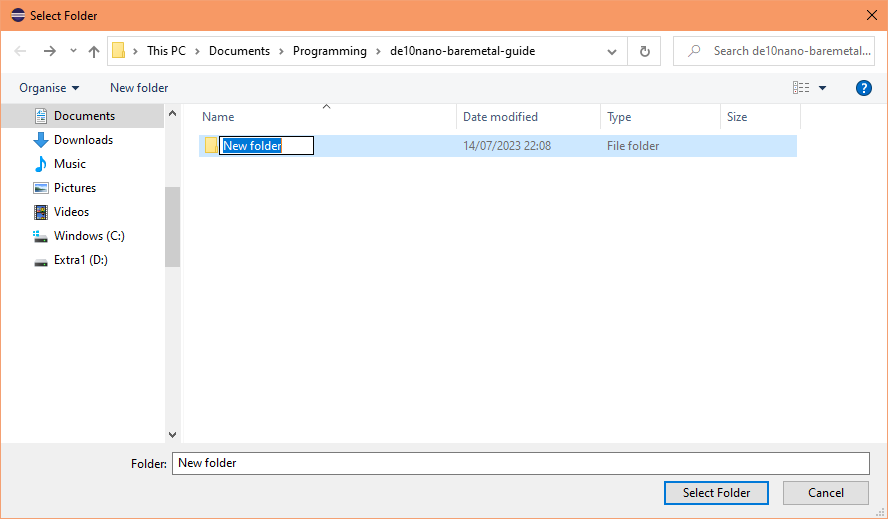
  • Browse to a suitable drive and location, click "New Folder" button to create a new folder and name it the same as the project name, and then go inside it
  • Click "Select Folder"
  • Under "Project Type", select "intel SoCFPGA C Project Generic" or "intel SoCFPGA C Project Hello World"
  • Under "Toolchains" select "Arm Cross GCC"
  • Click the "Next" button
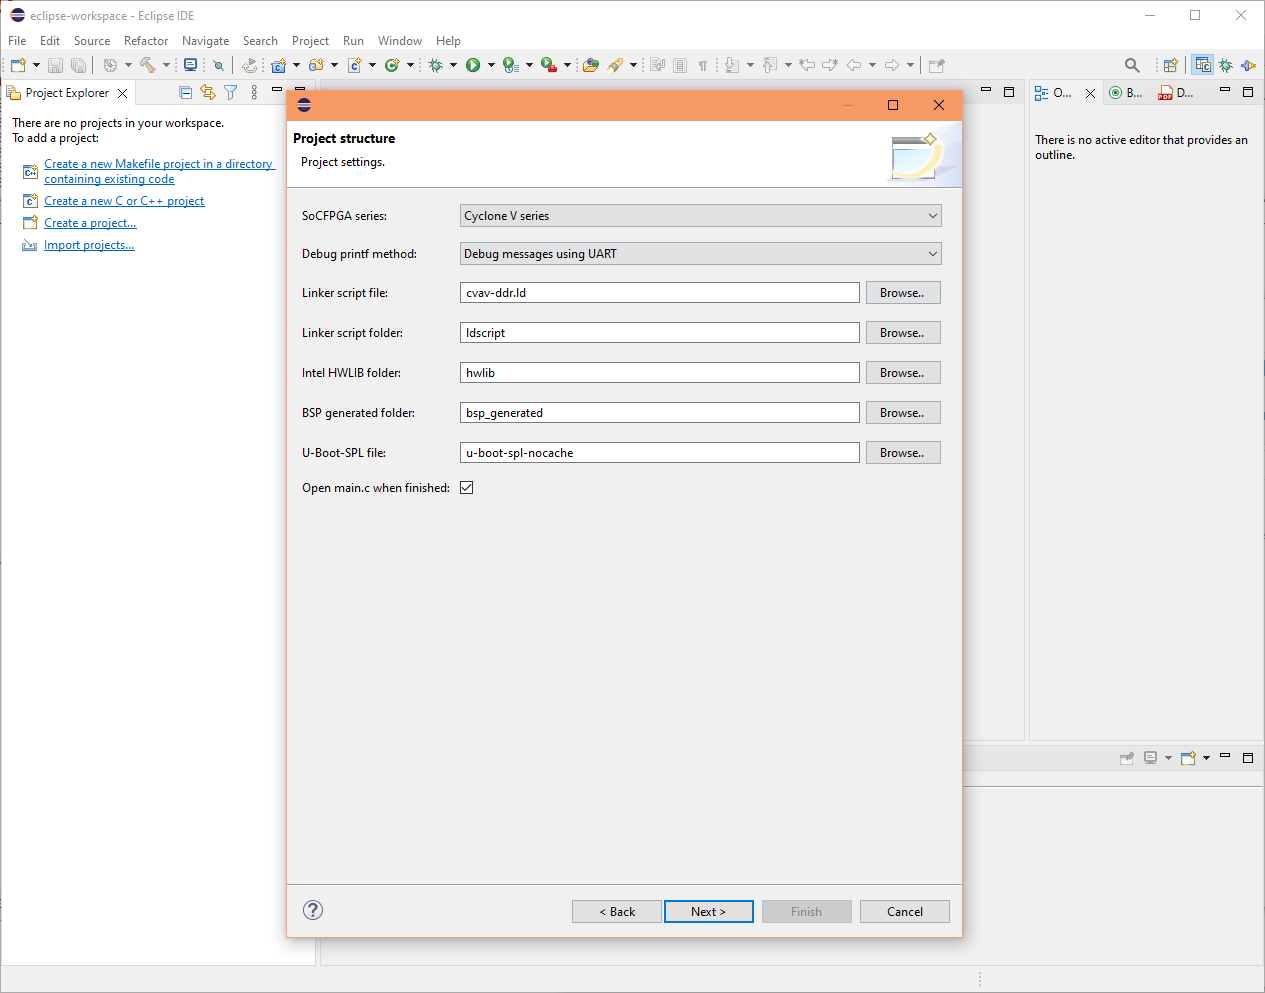
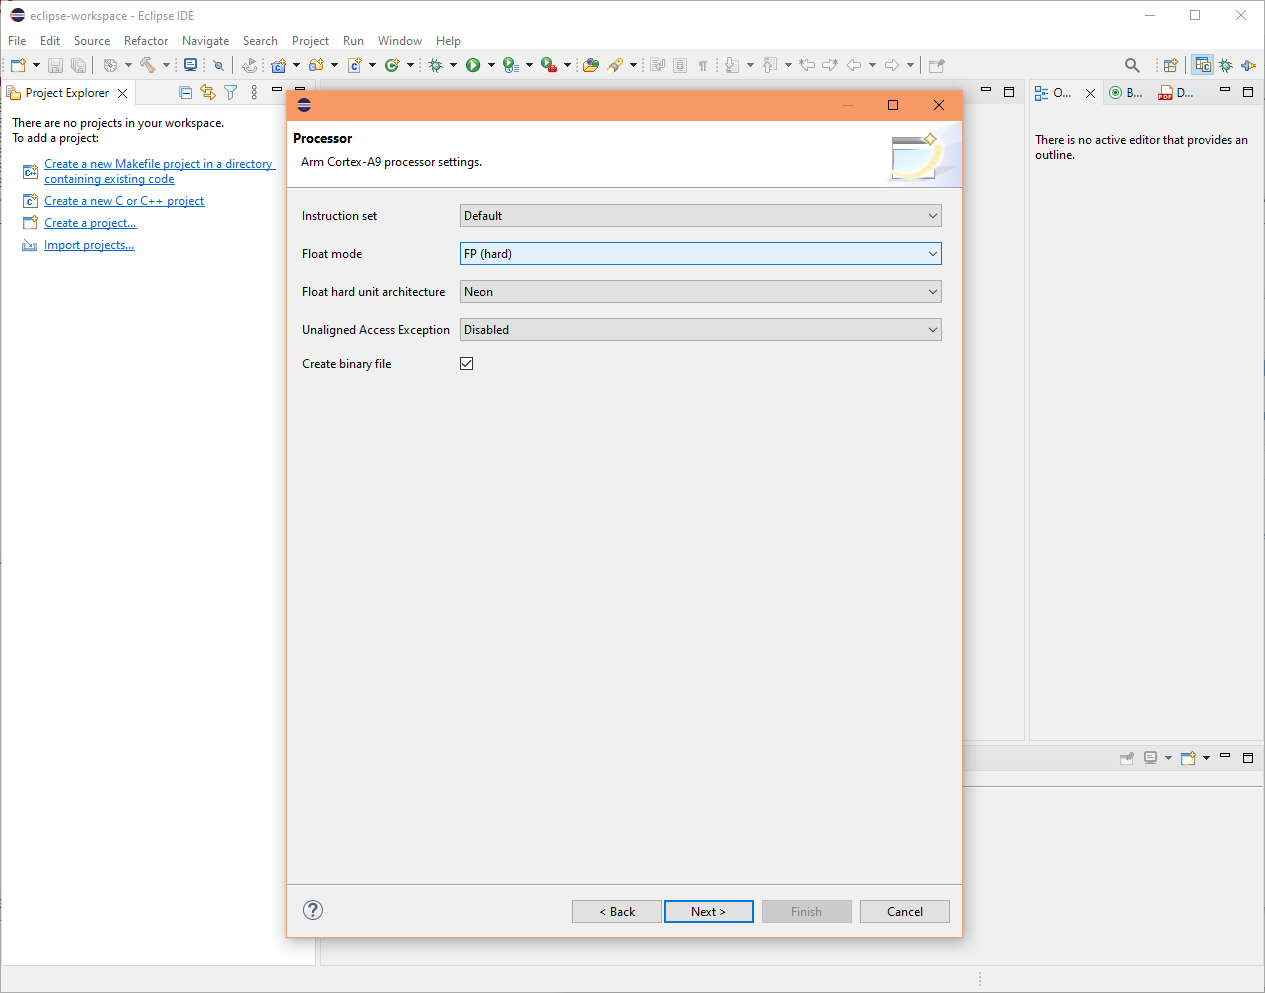
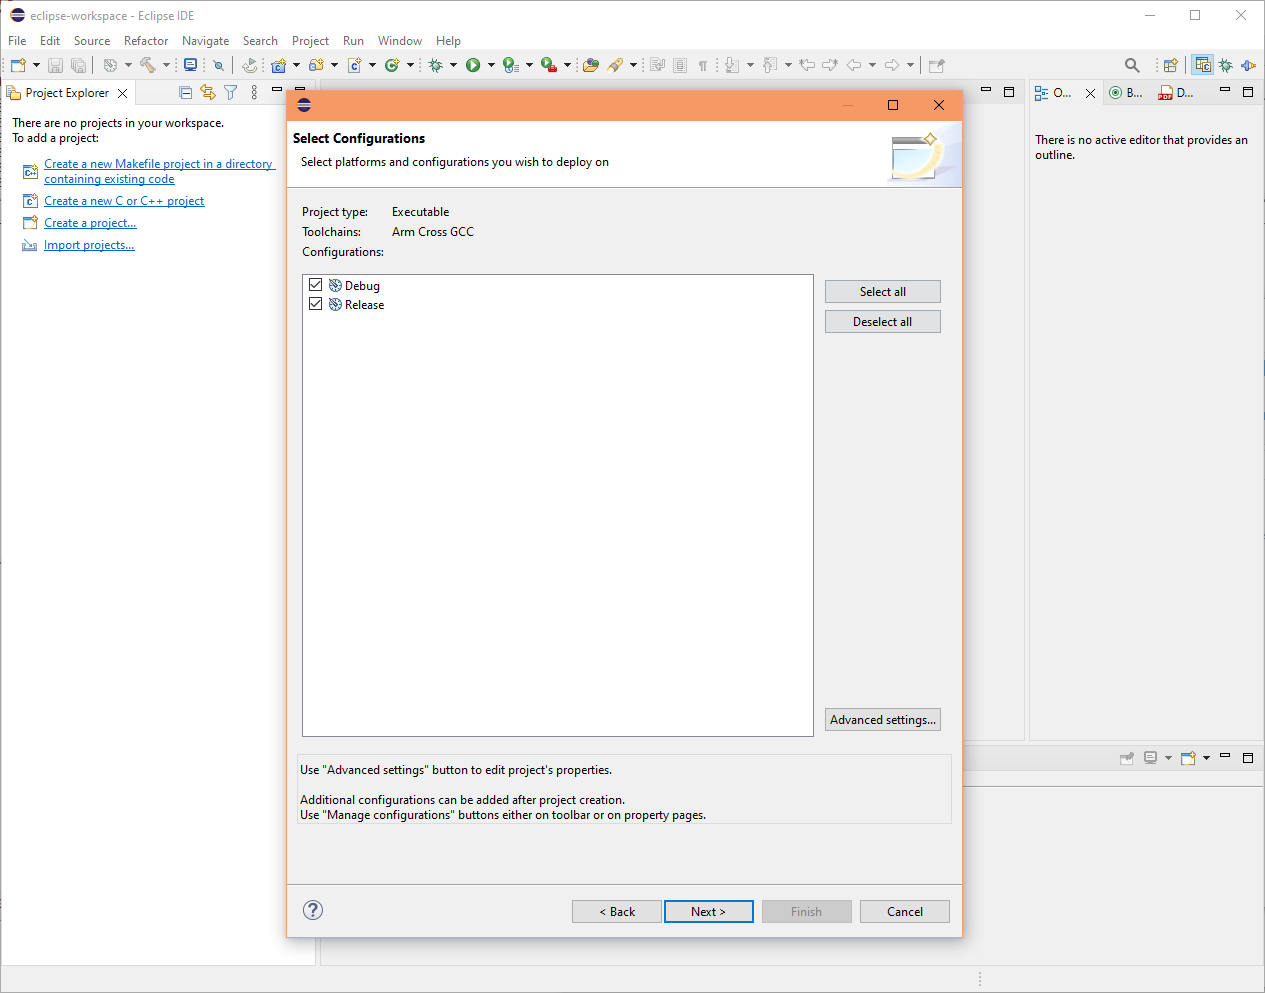
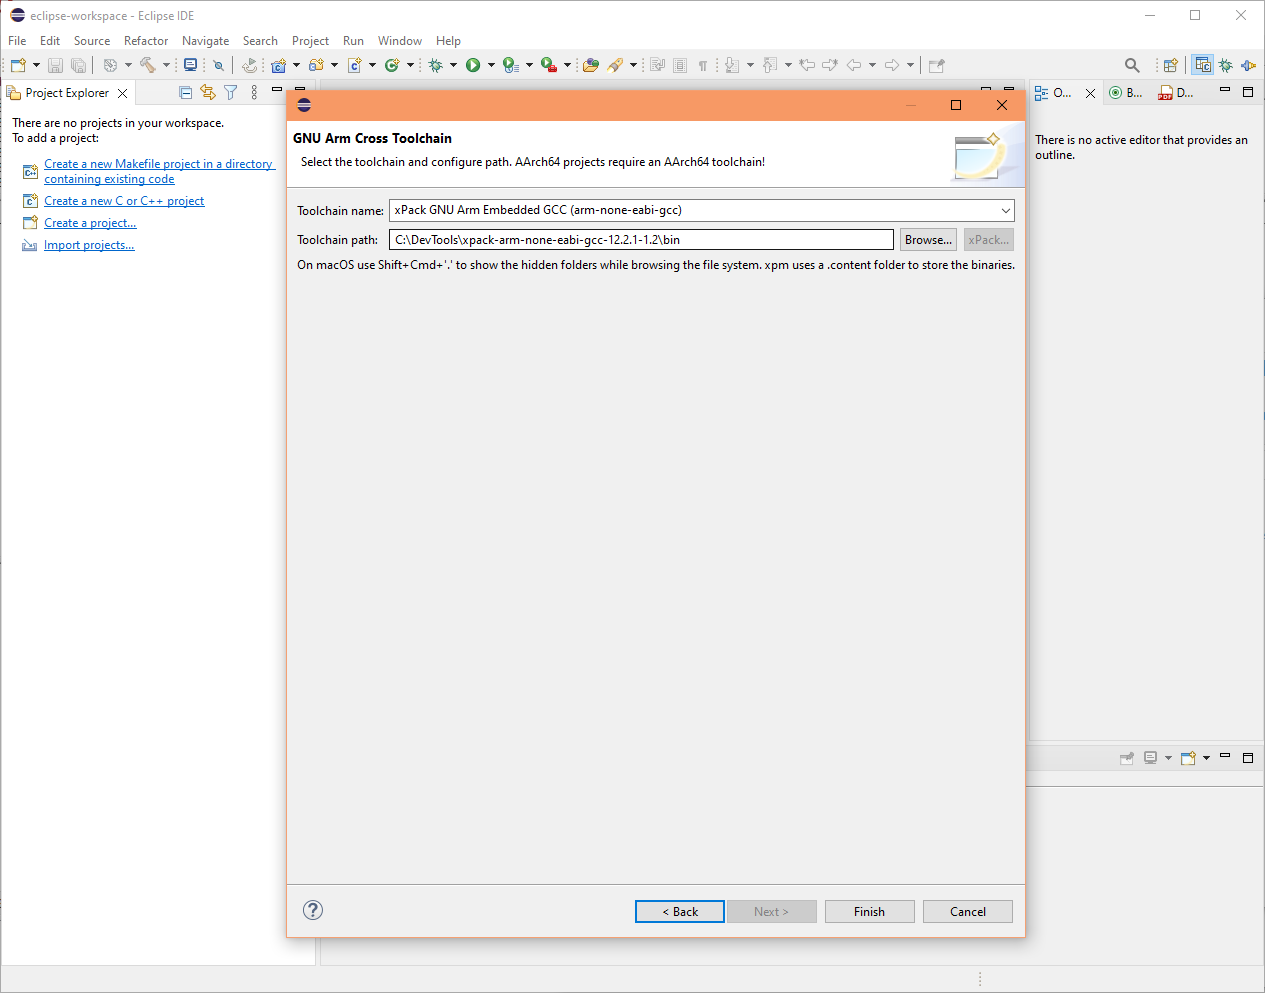
The rest of the wizard dialogs should be straightforward to use. The default options are normally suitable for most projects.
Menu New C/C++ Project New C Managed Build New folder New project location New project location New project location New project location New project location New project location

Document date: 14 Jul 2023